先講心得:超麻煩。可能是我沒看清楚文件,加上 label-studio 在上傳標記資料集的功能沒設計很好,來來回回搞很久才成功。
資料集:https://universe.roboflow.com/fenris-rvl7a/golf-batch-4 (coco) (只用其中的 vaild)
前置作業:set LABEL_STUDIO_LOCAL_FILES_SERVING_ENABLED=true
1. 下載資料集到本地端,選擇 coco 格式
2. 使用 label-studio-converter 把原本的 coco annotation json 轉換成 label studio 自己的 json 格式
ex:
pip install label-studio-converter
label-studio-converter import coco -i C:\Users\Cherry\Desktop\valid\_annotations.coco.json -o output1.json --image-root-url /data/local-files/?d=C://Users//Cherry//Desktop//valid/
執行後,會看到輸出一個 json 檔跟 xml 檔
3. 回到 UI 介面,Create new project

4. 在 Label Setup 的地方,選擇 Object Detection with Bounding Boxes

5. 預設是 Visual 模式,手動改選成 Code,把 label-studio-converter 產生的 xml 檔案內容複製貼上,並點選 save
6. 進入該 Project 視窗,點選右上角 Settings
7. 左側欄 Cloud Storage > Source Cloud Storage 的 Add Source Storage
8. 複製資料集所在位置的絕對路徑,記得用 // 而不要用 / 或 \。點選 Add Storage

9. 回到該 Project 視窗,點選 Import 按鈕,上傳 label-studio-converter 產生的 json 檔
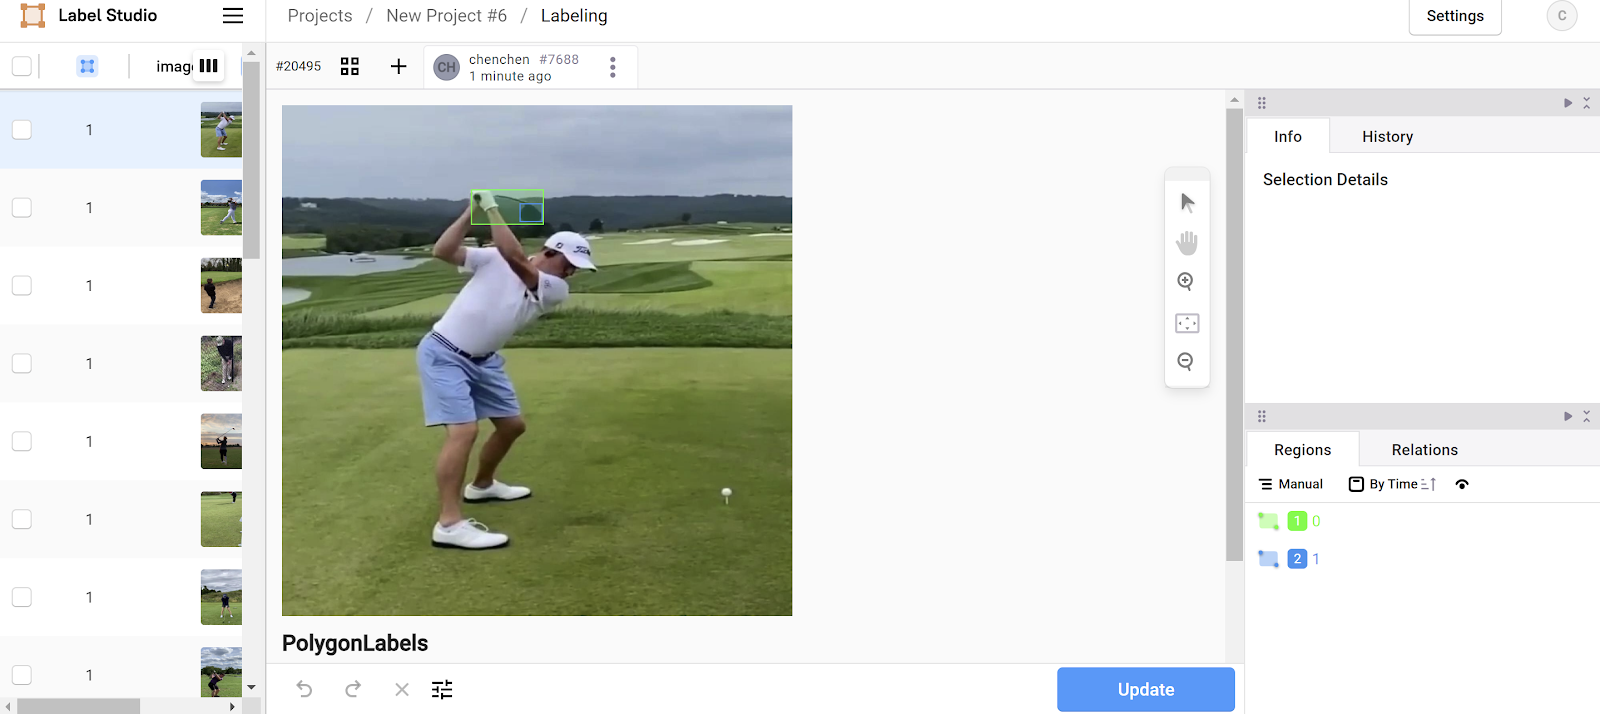
10. 成功!

ref
https://github.com/HumanSignal/label-studio/issues/2806
https://github.com/HumanSignal/label-studio-converter/pull/46
https://github.com/HumanSignal/label-studio/issues/2086
https://labelstud.io/guide/storage#Set-up-connection-in-the-Label-Studio-UI-4
沒有留言:
張貼留言